Showing posts with label red. Show all posts

Saturday, December 24, 2011

Christmas Tree & Presents

Christmas Tree & Presents!


From left to right: China Glaze in Icicle; China Glaze in Mistletoe Kisses; Salon Perfect Nail Art Liner in Red; Salon Perfect Nail Art Liner in Gold


I began with Icicle from the China Glaze 2011 Holiday Collection. This is a silver foil polish and one of the nicest silvers I've seen. The shimmer in the formula makes this polish different and nicer than all other silvers. It leaves a beautiful shine and metallic finish.


Then I made a Christmas tree on my ring finger using Mistletoe Kisses (reviewed on a previous post). I decorated the tree using Salon Perfect Nail Art Liners. I bought these liners at Walmart for $2.97 and they work great and are also very easy to use.


To finish off the look I made bows on my middle finger and thumb. I loved Edith's previous post and I was dying to try it myself!


COUNTDOWN TO CHRISTMAS: 1 DAY!
HAPPY CHRISTMAS EVE! :D

Monday, December 19, 2011

China Glaze - Mrs. Claus

Mrs. Claus


This fantastic nail polish is from the China Glaze 2010 Holiday Collection. It is very unique because it is jelly-like opposed to normal nail polish. This polish requires 2-3 coats (I applied 2). It is a red with a slight hint of pink tint with silver glitters (unfortunately, the red tint covers the silver as you apply a couple of layers). I love this polish but I wish it were a true red since it is supposed to be a holiday color.


COUNTDOWN TO CHRISTMAS: 6 DAYS! :D

Thursday, December 15, 2011

OPI - Red Shatter

Red Shatter


I applied Red Shatter overcoat over Milani Gold Glitz (scroll down for review). I chose to put red over gold because I think red and gold are perfect together and they are both Christmas colors. When using a texture overcoat it is best to apply top coat over your base polish, especially if you are putting it over a glitter polish otherwise the overcoat won't "shatter". The one disappointing thing about Red Shatter is that you cannot wear it over a dark polish. If you try applying it over a dark color, the polish loses it's red and looks more like a very dark burgundy and blends with the dark polish so you can barely see it. I found this very disappointing because I really wanted to try this color over black. However, Red Shatter is a very rich and vibrant red and that's what I love most about it.


COUNTDOWN TO CHRISTMAS: 10 DAYS! :D

Wednesday, December 14, 2011

Sinful Colors Ruby Ruby and OPI Rising Star

Sinful Colors Ruby Ruby and OPI Rising Star


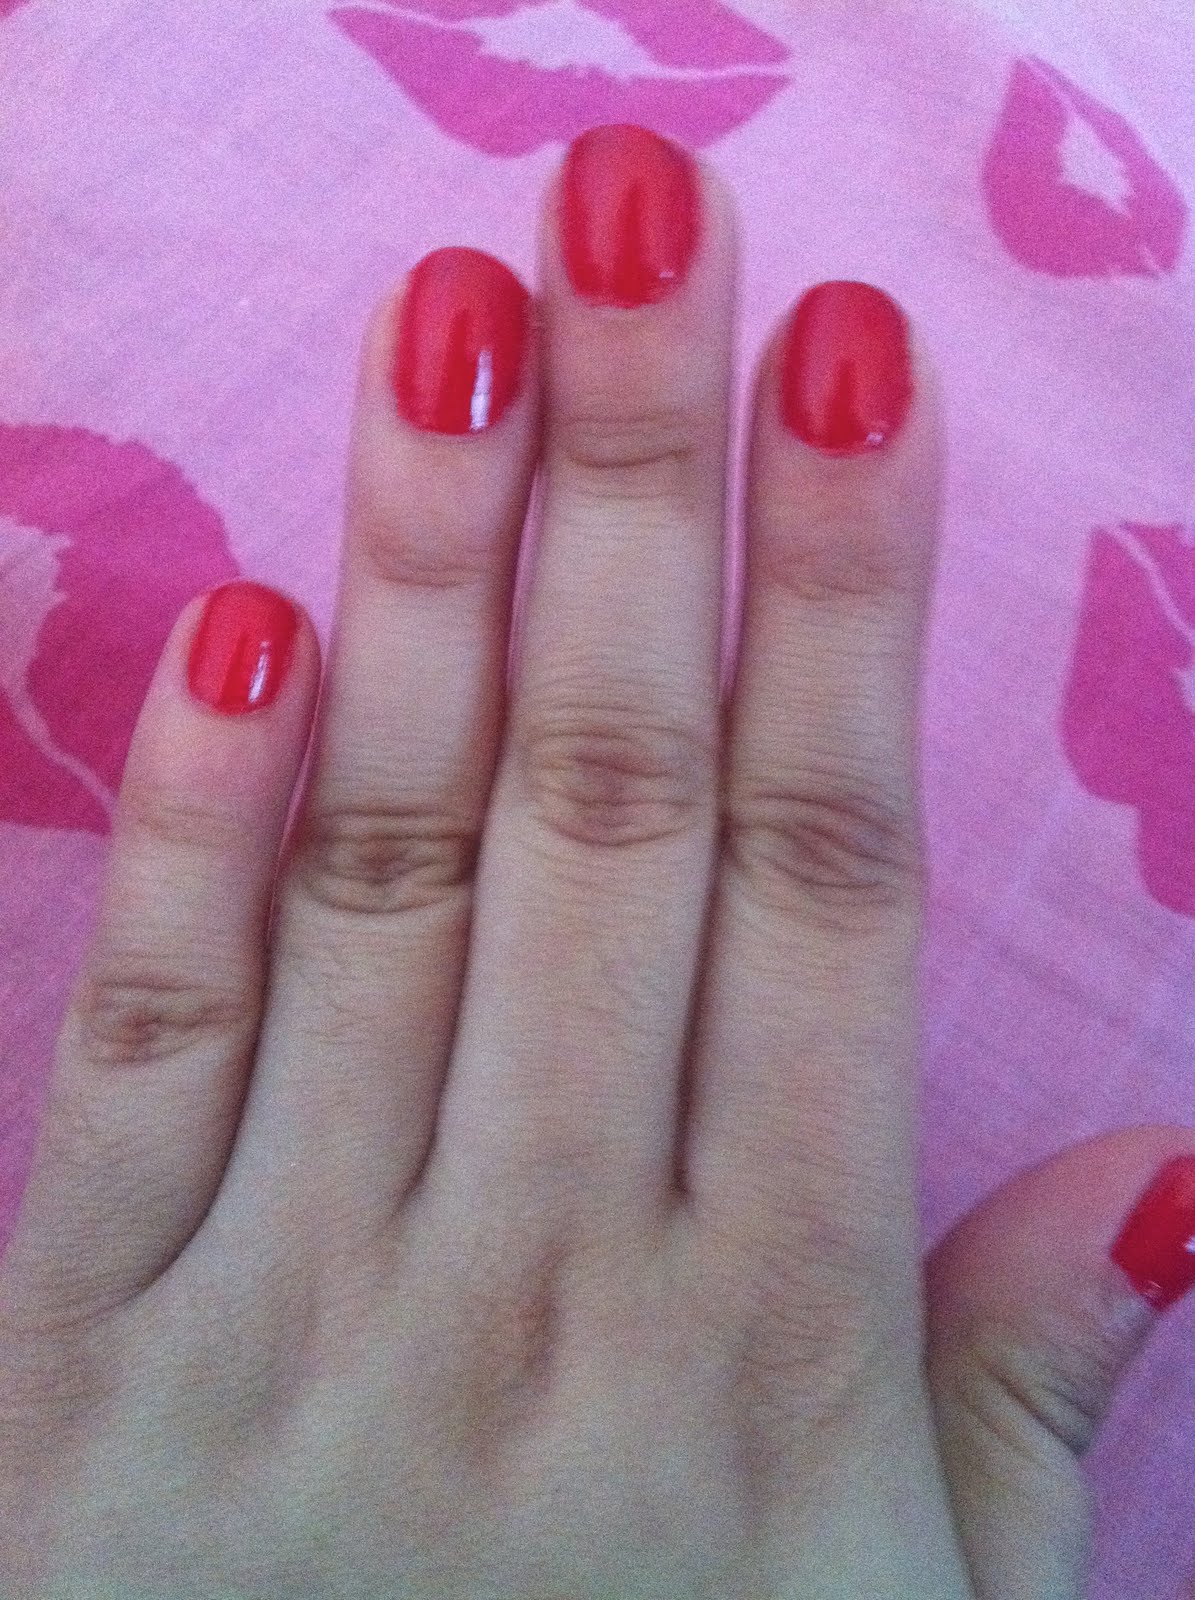
Ruby Ruby by Sinful Colors Professional is a creme, true red polish! I love this polish because it is very opaque and is NOT streaky at all! Also it is only $1.99. To make this polish stand out a bit I added OPI Rising Star on my ring finger for a more festive and different look :)

(I already reviewed OPI Rising Star on our Countdown to Christmas a couple of days ago, so for futher review on that polish check down below =D )


Coundown to Christmas: 11 days :-D

Tuesday, December 6, 2011

Milani - Ruby Jewels

Ruby Jewels


Milani nail polishes retail for about $3.99. You can find them at drug stores and several beauty supply stores. I love their polishes because they are easy to apply and dry quickly. I love this specific color because the micro glitters mixed in with the red tint really give the look of a ruby.


COUNTDOWN TO CHRISTMAS: 19 DAYS! :D

Monday, December 5, 2011

China Glaze - Party Hearty


China Glaze - Party Hearty

This polish is from the 2010 holiday collection. It has the perfect combination of holiday colors.


As you can see this polish goes on clear (it has no tint to it). I had to do several coats to get this finish. I suggest using a light silver as a base color to get a nicer finish, it will blend in really well with the tiny silver glitters and enhance the red and green.


COUNTDOWN TO CHRISTMAS: 20 DAYS!

Saturday, December 3, 2011

DIY Red Glitter Nail Polish

What you will need for your DIY Red Glitter Polish

1. Clear Coat nail polish (The one I used is Wet n Wild and retails for .99 cents)

2. Red Glitter (I bought this at Target and came in a pack of 4 for only $2.04. This particular glitter is square cut.)


STEPS


1. Apply your favorite base coat to protect your nails and let it dry.
2. Apply any clear coat polish you have on your nails. (DO NOT LET IT DRY, THIS WAY THE GLITTER WILL STICK!)
3. Shake glitter on your nails, to clear coat. Make sure your clear coat of polish hasn't dried on your nails.
4. Apply a top coat to glitter when finished.
5. You can repeat steps 2-3 depending on how much glitter you want on your nails.


Finished Product :)


COUNTDOWN TO CHRISTMAS: 22 DAYS :)

Thursday, December 1, 2011

NK - Scarlet and OPI - Excuse Moi!


NK - Scarlet

So I began with NK - Scarlet as my base color. I'm not sure if I mentioned this before but you can find NK nail polishes at several dollar and beauty supply stores, so they are a bargain!


I love this polish because it is a very vibrant red and it leaves a beautiful shine. Reds are great because they look great on all skin types.


OPI - Excuse Moi! From the Muppets Collection

I added one coat of OPI Excuse Moi! over the NK polish. The NK Scarlet looks great alone, but I wanted to add something special to it.I decided to use a red base color because it is hard to achieve a nice finish with the Excuse Moi! alone. When tried Excuse Moi! by itself, I was unsatisfied with the look because it looked more pink than red and it required at least four coats.


Excuse Moi! over Scarlet

After putting the Excuse Moi! over the red polish, I fell in love with it. I love how it has red, silver, and green glitters giving it a true Christmas feel.


The countdown begins! 24 Days to Christmas! :D